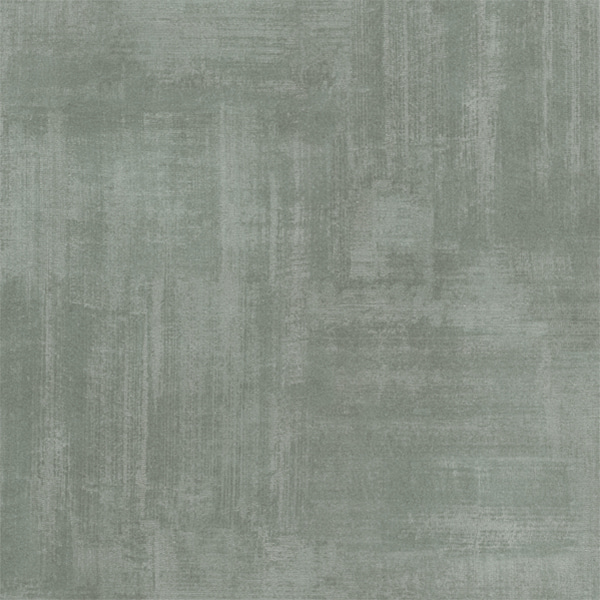
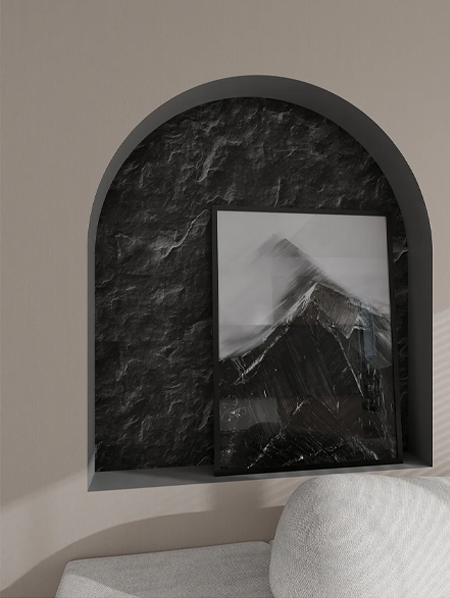
Fabric decorative papers are becoming increasingly popular in home interiors, offices, and creative projects. They combine the soft, textured look of fabric with the convenience of paper backing, making them versatile for walls, furniture, and craft applications. However, to achieve a neat and professional finish, proper installation is essential.
1. Preparation: The Key to Success
Before installation, preparation is crucial. A poorly prepared surface can ruin the final look.
- Choose the right location: Fabric decorative papers work best on smooth, dry, and clean surfaces. They are often applied to walls, ceilings, cabinet panels, and even as accent decoration on doors or furniture. Avoid damp areas, since moisture can weaken adhesion.
- Clean the surface: Remove dust, grease, or old paint flakes. For walls, wipe them down with a damp cloth and allow them to dry completely.
- Repair imperfections: Fill in cracks or holes with wall putty, then sand the surface smooth. A flat base ensures that the paper adheres evenly.
- Measure the area: Use a tape measure to determine the exact dimensions of the wall or object. This helps cut the fabric paper with minimal waste.
2. Tools and Materials Needed
To install fabric decorative papers efficiently, gather the following items:
- Fabric decorative paper rolls or sheets
- Sharp utility knife or scissors
- Measuring tape and ruler
- Level or plumb line (to ensure straight alignment)
- Wallpaper paste or suitable adhesive (some fabric papers are self-adhesive)
- Smoothing brush or plastic scraper
- Clean sponge or soft cloth
- Ladder (for tall walls or ceilings)
Having the right tools ready will make the installation smoother and faster.
3. Cutting the Fabric Decorative Papers
Cutting is a step where precision matters:
- Cut with allowance: Add about 2–3 cm (1 inch) extra on each side. This ensures overlap for trimming after installation.
- Match the pattern: If your fabric paper has designs or repeating patterns, align them carefully before cutting. Pattern mismatches can disrupt the visual flow.
- Number the panels: When working with large walls, cut multiple strips in order and number them on the back. This helps avoid confusion during installation.
4. Applying Adhesive
There are two types of fabric decorative papers: self-adhesive and non-adhesive (requires glue).
- Self-adhesive papers: Peel off the backing sheet gradually as you stick the paper onto the surface. Do not peel it all at once—this prevents bubbles and misalignment.
- Non-adhesive papers: Apply wallpaper paste to the back of the fabric paper or directly to the wall, depending on the manufacturer’s instructions. Spread the glue evenly to avoid lumps.
Tip: Work in small sections, so the glue does not dry before the paper is applied.
5. Installing the Fabric Decorative Paper
Now comes the actual placement:
- Align the first sheet: Start from the top of the wall (or surface) and gently press the fabric paper downwards. Use a level to ensure it is perfectly straight. The first sheet sets the alignment for the rest.
- Smooth as you go: Use a smoothing brush or plastic scraper to press out air bubbles and wrinkles, moving from the center outward.
- Overlap or butt joint: Depending on the paper type, either slightly overlap the edges or place them edge-to-edge for a seamless look.
- Continue with other sheets: Follow the same steps, aligning patterns carefully.
6. Trimming and Finishing
After installation, finishing touches make all the difference:
- Trim excess edges: Use a sharp utility knife along a ruler or straight edge to cut off extra paper at corners, ceilings, and floor edges.
- Press seams gently: Run a seam roller over the joints to make them blend smoothly.
- Wipe off glue: If paste seeps out, clean it immediately with a damp sponge before it hardens.
- Check for bubbles: If small air bubbles remain, prick them with a needle and press out the air.
7. Tips for a Professional Finish
- Work in pairs: One person can hold the paper while the other smooths it into place. This reduces mistakes.
- Maintain room conditions: Keep the room at moderate temperature and humidity during installation. Extreme conditions may affect adhesion.
- Test a small area first: Especially if you are applying fabric paper to furniture, test a hidden corner before covering the whole surface.
- Take your time: Rushing may lead to crooked seams or visible bubbles.
8. Common Mistakes to Avoid
- Skipping surface preparation: Dust, uneven walls, or dampness can cause peeling.
- Not aligning patterns: This results in mismatched visuals, reducing aesthetic value.
- Applying too much adhesive: Excess glue can stain fabric or seep through seams.
- Improper trimming: A dull blade tears the fabric rather than cutting cleanly.
9. Aftercare and Maintenance
Once installed, fabric decorative papers are relatively easy to maintain:
- Dust regularly: Use a soft cloth or vacuum with a brush attachment.
- Avoid harsh cleaners: Wipe gently with a damp cloth if necessary.
- Protect from moisture: While some fabric papers are treated for water resistance, prolonged exposure to humidity may reduce their lifespan.
- Inspect edges periodically: If any corner starts peeling, reapply adhesive immediately to prevent further lifting.
Conclusion
Installing fabric decorative papers is not overly difficult, but it does require preparation, patience, and careful attention to detail. Compared to standard wallpaper, fabric papers add a richer texture and a more luxurious finish, but they must be handled with precision to maintain their beauty.
By preparing the surface properly, cutting with accuracy, applying adhesive correctly, and finishing neatly, you can achieve a professional-looking result even as a DIY project. With the right tools and care, fabric decorative papers can transform walls, furniture, or craft items into elegant and stylish features that elevate any space.


 English
 русский
 عربى
عربى